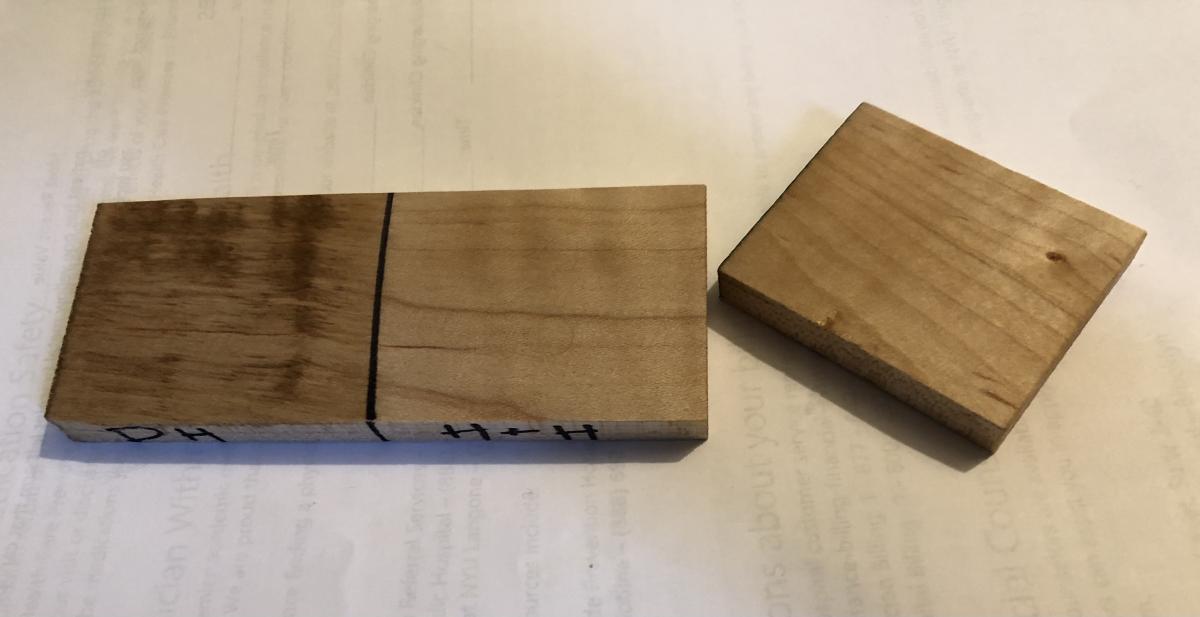
Testing Real Milk Paint Half & Half Tung Oil, Dark Half Tung, and Tried and True Danish Oil on the two different woods I made my first box out of.
Everyone loves a test.
Well, maybe not everyone.
But whether you are a general contractor, a weekend woodworking hobbyist, redoing your kitchen, or a master craftsperson, testing your finishes is a critical step in your build.
We here at Tools get inquiries all the time about finishes - how to protect an outdoor table, how to match the color of your antique dresser, what direct UV rays will do to that corner of your floor that gets direct sun from 3:00 - 3:30 pm every other Thursday.
And of course, we love to help folks solve life’s little finishing mysteries!
So we want to take a minute to dive a bit deeper on testing your finish - both base coats (such as dyes or stains) and top coats (for protection). Making this a regular part of your woodworking is important not only for the project in front of you, but for the piece long term, as well as for future projects. It can take getting a nice finish on your current project and turn it into expanding your knowledge base overall. While looking at finish colors and options on-line or on sample sticks can be helpful in deciding on a potential finish, nothing can really replace the importance of testing. Even old hands at woodworking are sometimes surprised at the new options and combinations they sometimes come up with.
Testing your finish is simple - in its ideal it means taking a scrap of wood from the project itself and applying the finish you want to use (or different ones you might want to use) and applying it in as close to exactly the same way you will apply it on your finished work. This allows you to catch any problems with or changes to application method or finish choice you want to make ahead of time, protecting your finished piece. There have been times where I have tweaked a design because of how a finish test made the end grain look, or similar situations. Testing a base coat and top coat together can catch those times when they do not mix well.
Tung oil, the basis for a lot of oil finishes comes in a lot of different permutations. We stock several brands and Real Milk Paint for example stocks tung oil in different intensities. We have both regular and dark pure tung oil and a diluted version, half and half, that also comes in regular and dark. In the sample board above I wanted to test them all.
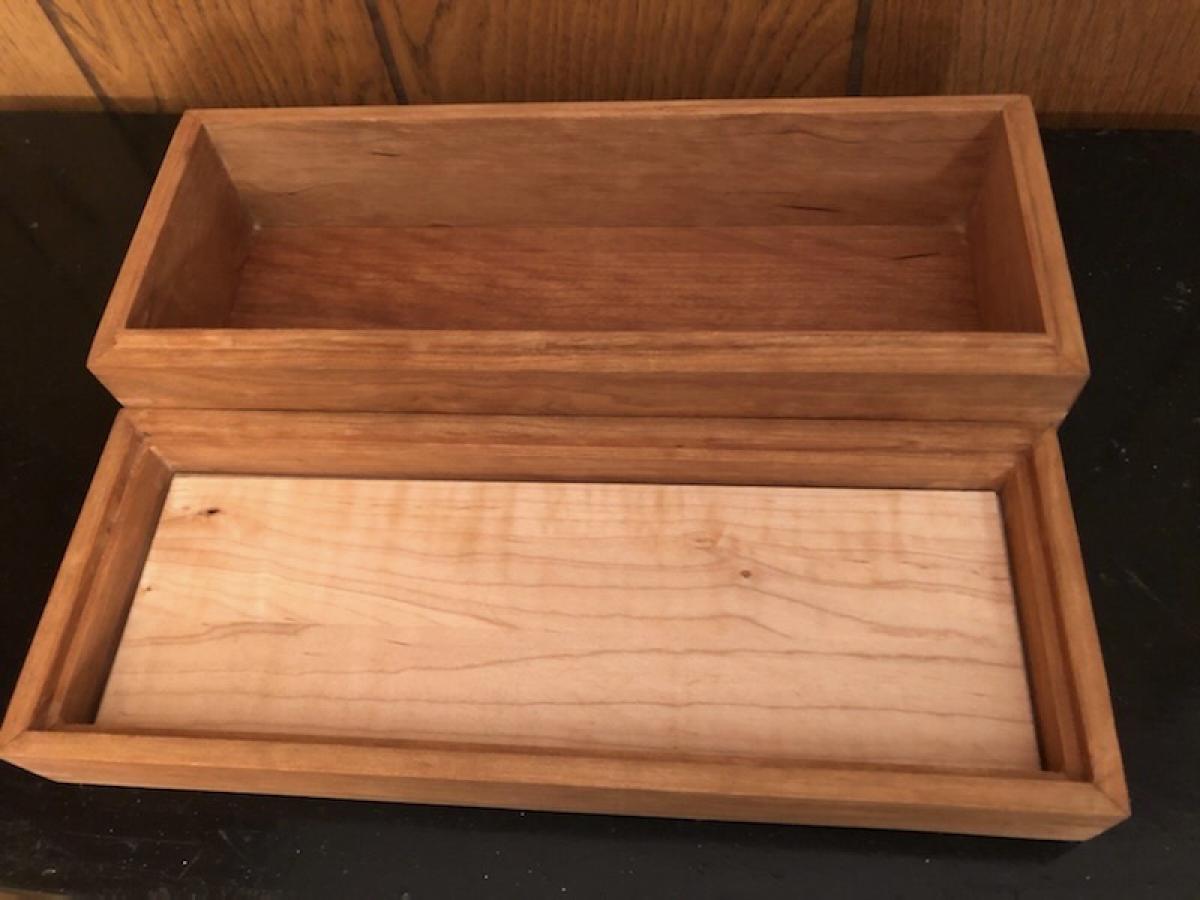
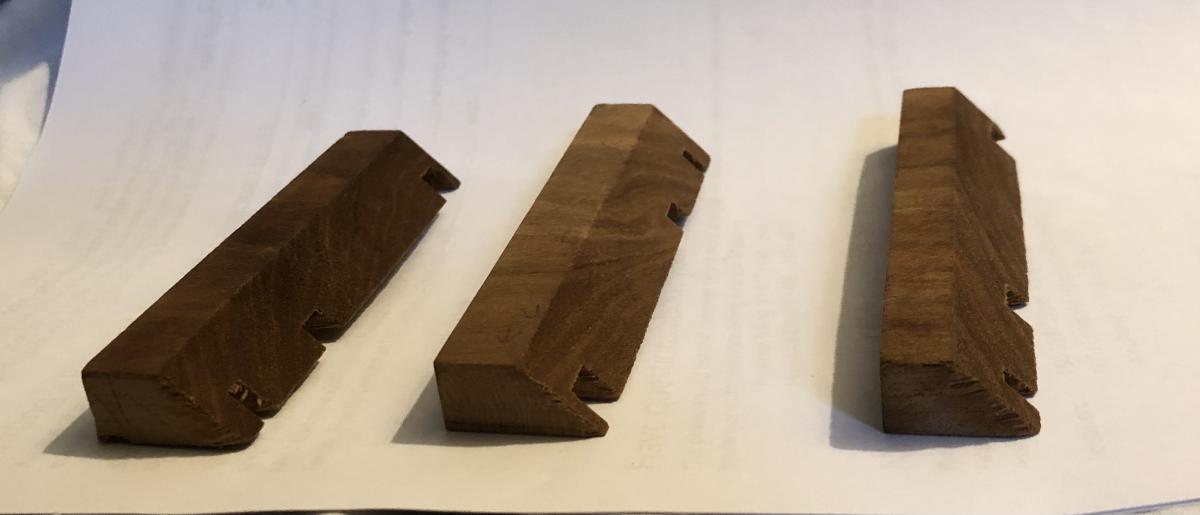
The tests helped me realize that the Danish Oil helped the chatoyancy in the Maple top really pop beautifully, and on the other hand the end grain on the box splines on the corners did not darken as much as I had hoped they would.
While it can be a pain, if you shift your thinking about it from “an extra pain in the ass thing I have to do to “this is one of the steps in building, that’s all”, it really can become second-nature and will not seem like as much of a chore. Different folks test in different ways (or don’t test at all - no judgement here!), here is one straight-forward way of testing. And share your tips and tricks in the comments below!
Be sure you account for some scrap/cut-off pieces when making up your cut list or plans for what you are building. If you are building something with more than one type of wood get a few scraps of each. Try and make sure you have both end-grain (the tougher ends of a piece of wood) and face grain (the smoother prettier parts) on your scraps, as they react differently to sanding and finishes.
Decide what type of finish/es you will be using on your piece, and set aside one scrap piece per finish test, or divide one piece of scrap into multiple testing areas. You might want to test different finishes (e.g. wood wax vs. shellac) but also different methods of applying your finish (e.g. brush vs. rag), number of coats you apply, what grit to sand to, and more. You don’t necessarily have to account for every possible combination of finishes, but the more you do the more you will learn and the more options you might come up with.
Before applying the finish to your test scrap, write down all the details that might be useful for this project and in the future, such as date, project, type of wood, finish product used, how applied, number of coats, etc. Again you might not need all of these, but the more data the better. Make sure you have enough room on your scrap to jot this info down, and also that it is big enough to really see the finish. Or get creative - number your test pieces and keep a list of each one on-line!
If you make your tests early in the building process (even first) then you will be ready to hit the finishing ground running. I used to skip making test scraps because I waited until the piece was built, and then it felt like a break in the workflow to now have to stop and wait before completing a piece. And I fully advocate keeping test pieces as well - it means more options for future pieces, and I can see how different finishes look over time as well.
Towards the same end, you can also make up finish test boards when between projects as well. If there are woods or finishes that you often use or perhaps want to use, make up tests proactively for them.
For more info check out the following:
Eddie O’Donnell showcasing a few different methods of applying Osmo Top Oil to a cutting board.
A nice video and cutting board. Glad you explained at the end regarding the 3 methods as I was thinking “No way!”
It’s a rainy day. A good time to use some scraps for a cutting board.
Thanks again


 Joel's Blog
 Built-It Blog
 Video Roundup
 Classes & Events
 Work Magazine
It’s a rainy day. A good time to use some scraps for a cutting board.
Thanks again